HTML Essentials: A Beginner's Guide


The Birth of HTML
HTML, which stands for HyperText Markup Language, was born out of the vision of Tim Berners-Lee, a British computer scientist, in the late 1980s and early 1990s. Berners-Lee, working at CERN (the European Organization for Nuclear Research), envisioned a way to share and hyperlink documents across the emerging network of computers known as the World Wide Web.
In 1991, Berners-Lee introduced the first version of HTML, providing a simple yet powerful way to structure and format documents using tags. This inaugural version laid the groundwork for what would become the backbone of the internet.
The Evolution of HTML
HTML continued to evolve rapidly as the web grew in popularity. Various iterations of the language were introduced, each bringing new features and capabilities to web developers. Some notable milestones include:
HTML 2.0 (1995): This version introduced many of the fundamental elements of HTML that we still use today, including forms, tables, and lists. It also standardized the way web browsers interpreted HTML documents.
HTML 3.2 (1997): Building upon the foundation of HTML 2.0, this version introduced additional features such as support for tables, image maps, and improved support for scripting languages like JavaScript.
HTML 4.01 (1999): HTML 4.01 refined and standardized many aspects of the language, providing clearer guidelines for web developers. It introduced support for style sheets (CSS) and multimedia elements like audio and video.
XHTML (2000s): XHTML (eXtensible HyperText Markup Language) was introduced as a reformulation of HTML using XML syntax. It aimed to make HTML more compatible with other XML-based technologies and enforce stricter rules for document structure.
The Modern Web: HTML5
In 2014, HTML5 was officially standardized, representing the latest evolution of the language. HTML5 introduced a plethora of new features and enhancements, including native support for multimedia elements, semantic tags for improved document structure, and support for offline web applications.
Today, HTML5 serves as the foundation for building dynamic, interactive, and accessible web experiences across a wide range of devices and platforms. It continues to evolve with ongoing efforts to extend its capabilities and adapt to the changing landscape of the web.
Getting Started: Installing Visual Studio Code (VS Code)
To start our journey, let's make sure we have the right tools:
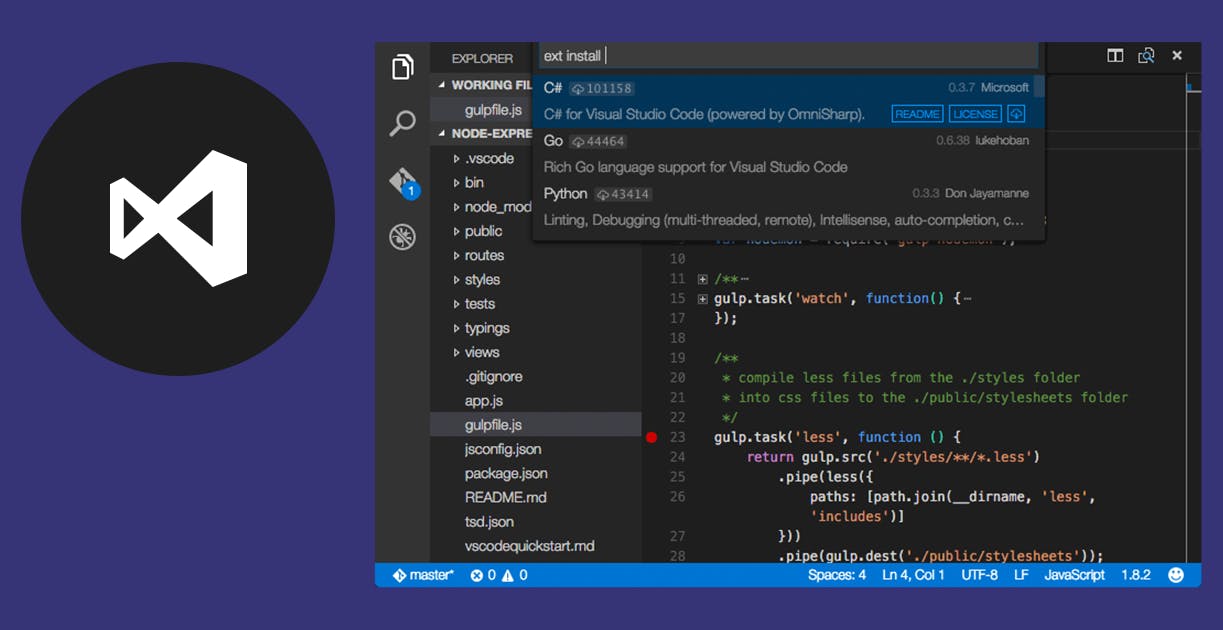
Download VS Code: Go to the Visual Studio Code website at code.visualstudio.com. There, you can find the download link for your computer's operating system (Windows, macOS, or Linux).
Install VS Code: Once the download is complete, follow the instructions to install VS Code on your computer.
Open VS Code: After installation, open VS Code from your applications or Start menu.
Great job! You're now ready to create your first HTML page.
Building Your First HTML Page
Let's create a simple webpage together:
Create a New File: In VS Code, go to File > New File (or press
Ctrl + Non Windows/Linux, orCmd + Non macOS) to create a new file.Save the File: Save the new file with a name like "index.html".
Add HTML Structure: Every HTML document starts with
<!DOCTYPE html>. Then, we have the<html>,<head>, and<body>tags. Your HTML code will go inside the<body>tag.Adding Content: Inside the
<body>tag, you can add different elements like headings, paragraphs, images, and links.
Exploring Headings and Paragraphs
Let's learn about two important HTML elements:
Headings
HTML has six levels of headings, from <h1> to <h6>:
<h1>: The main heading of the page.<h2>to<h6>: Subheadings of decreasing importance.
Paragraphs
Use the <p> tag to create paragraphs. It's for blocks of text.